Clickfunnels Integration
Many E-commerce brand owners use ClickFunnels to power their online stores, each with their own unique marketing strategies. Advertising plays a vital role in these strategies, but managing ad campaigns can quickly become overwhelming. That’s why, from now on, you can integrate MyDataNinja with ClickFunnels to simplify ad management and save your business time and resources. This integration helps you simplify your operations and gain better control over your marketing efforts. The integration is very easy and quick. Let’s start with the tutorial.
How to Connect ClickFunnels to MyDataNinja
Open MyDataNinja and log in.
Click revenue sources in the left menu and choose ClickFunnels - > Connect New Store.
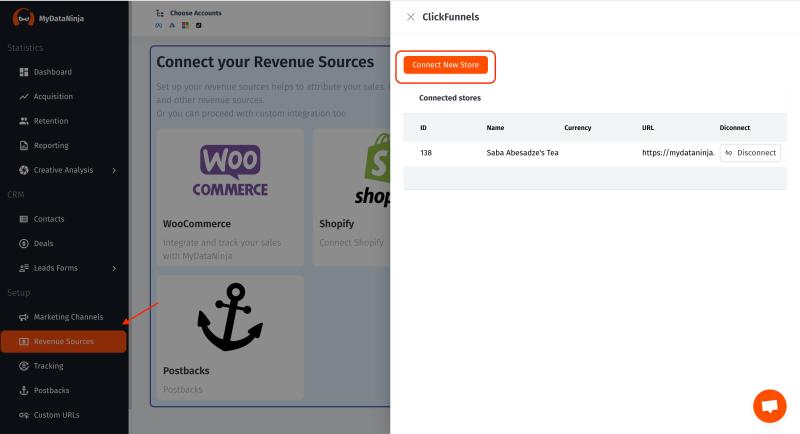
On the new window, you should log in to your ClickFunnels account. (If you are already logged in, you can choose your workspace right away.)
After choosing your workspace, you should authorize and give permissions to MyDataNinja.
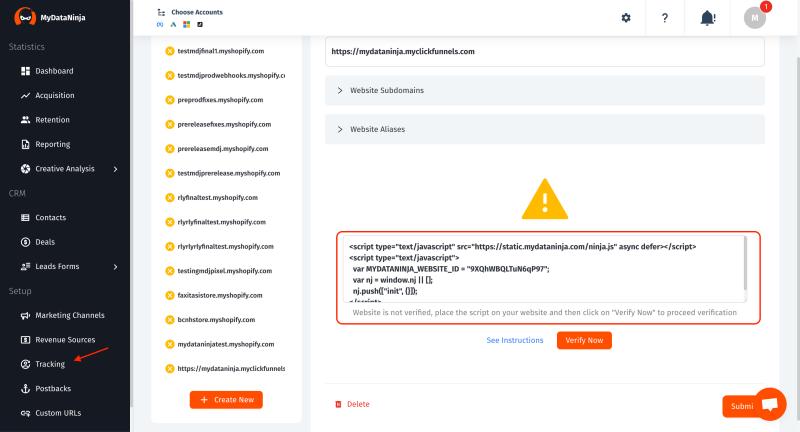
Then, go to the tracking page, where you will see your website. There you will be able to see your tracking code.
Next Steps
After connecting your ClickFunnel store to MyDataNinja,
Log in to your ClickFunnels account and choose your desired workspace.
Then, from the left menu, click Store and then Overview.
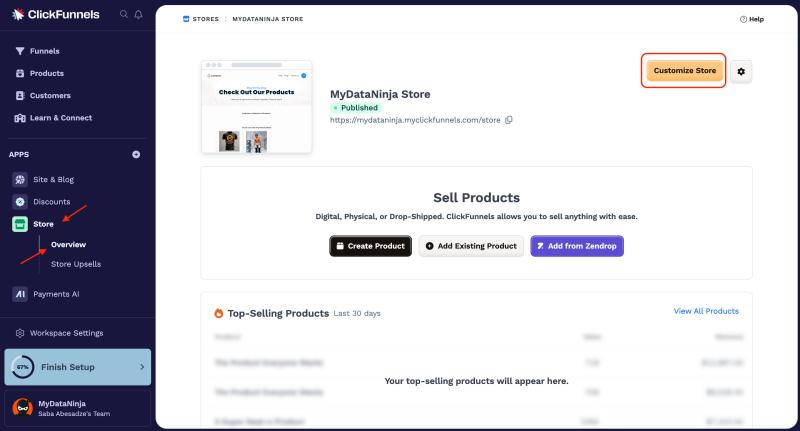
On a new page, click the Customize Store icon.
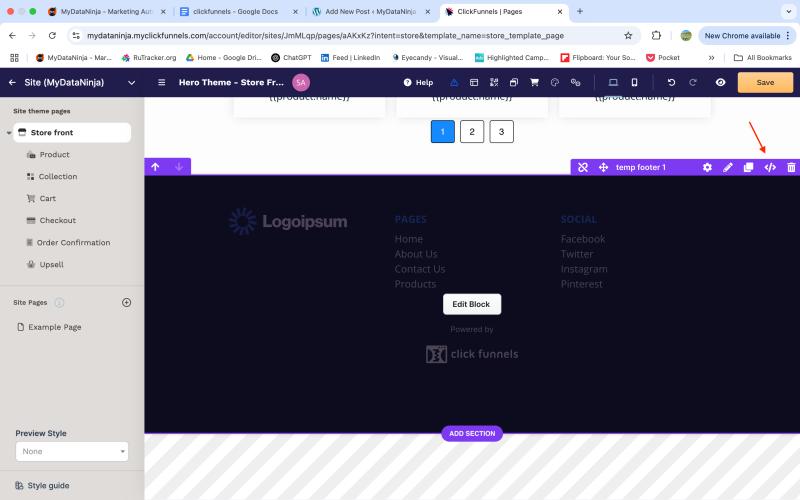
Scroll down and on the right side, click the Code icon.
Choose Footer Code and add your tracking code there.
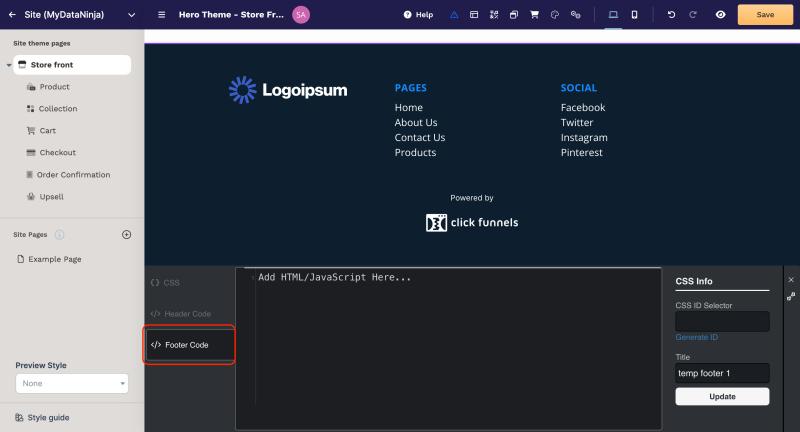
The tracking code is located on the MyDataNinja tracking page.
Finishing Up
Congratulations, you just integrated your ClickFunnels account to MyDataNinja. Now, all your store progress and data will be visible and manageable in MyDataNinja.